Our Rover 75 is beautiful. I know this because the car was voted ‘most beautiful executive saloon’ by a panel of Italian motor industry experts in 1999. I can also feel it. It rides beautifully. Journeys waft by.
An MGTF owner contacted us to discuss the dynamics of his car and how it could be improved. In conversation, he mentioned his own Rover 75 and the pleasure it gives. Beautiful, but for one thing (or should that be four?). What could be done to reduce the gap between the wing and top of the tyre? How best to lower a Rover 75? Time to investigate.
We have been here before. Creating the MG ZT from the Rover 75 was a fascinating challenge, with limited time and money. Most importantly (for me in the Chassis team) there needed to be engineering substance as well as style. No badge engineering here. Larger wheels and tyres with a greater overall diameter linked to lowered ride heights really changed the stance. Spring rates, damping, bush changes and steering calibration added the substance. But this created an MG.
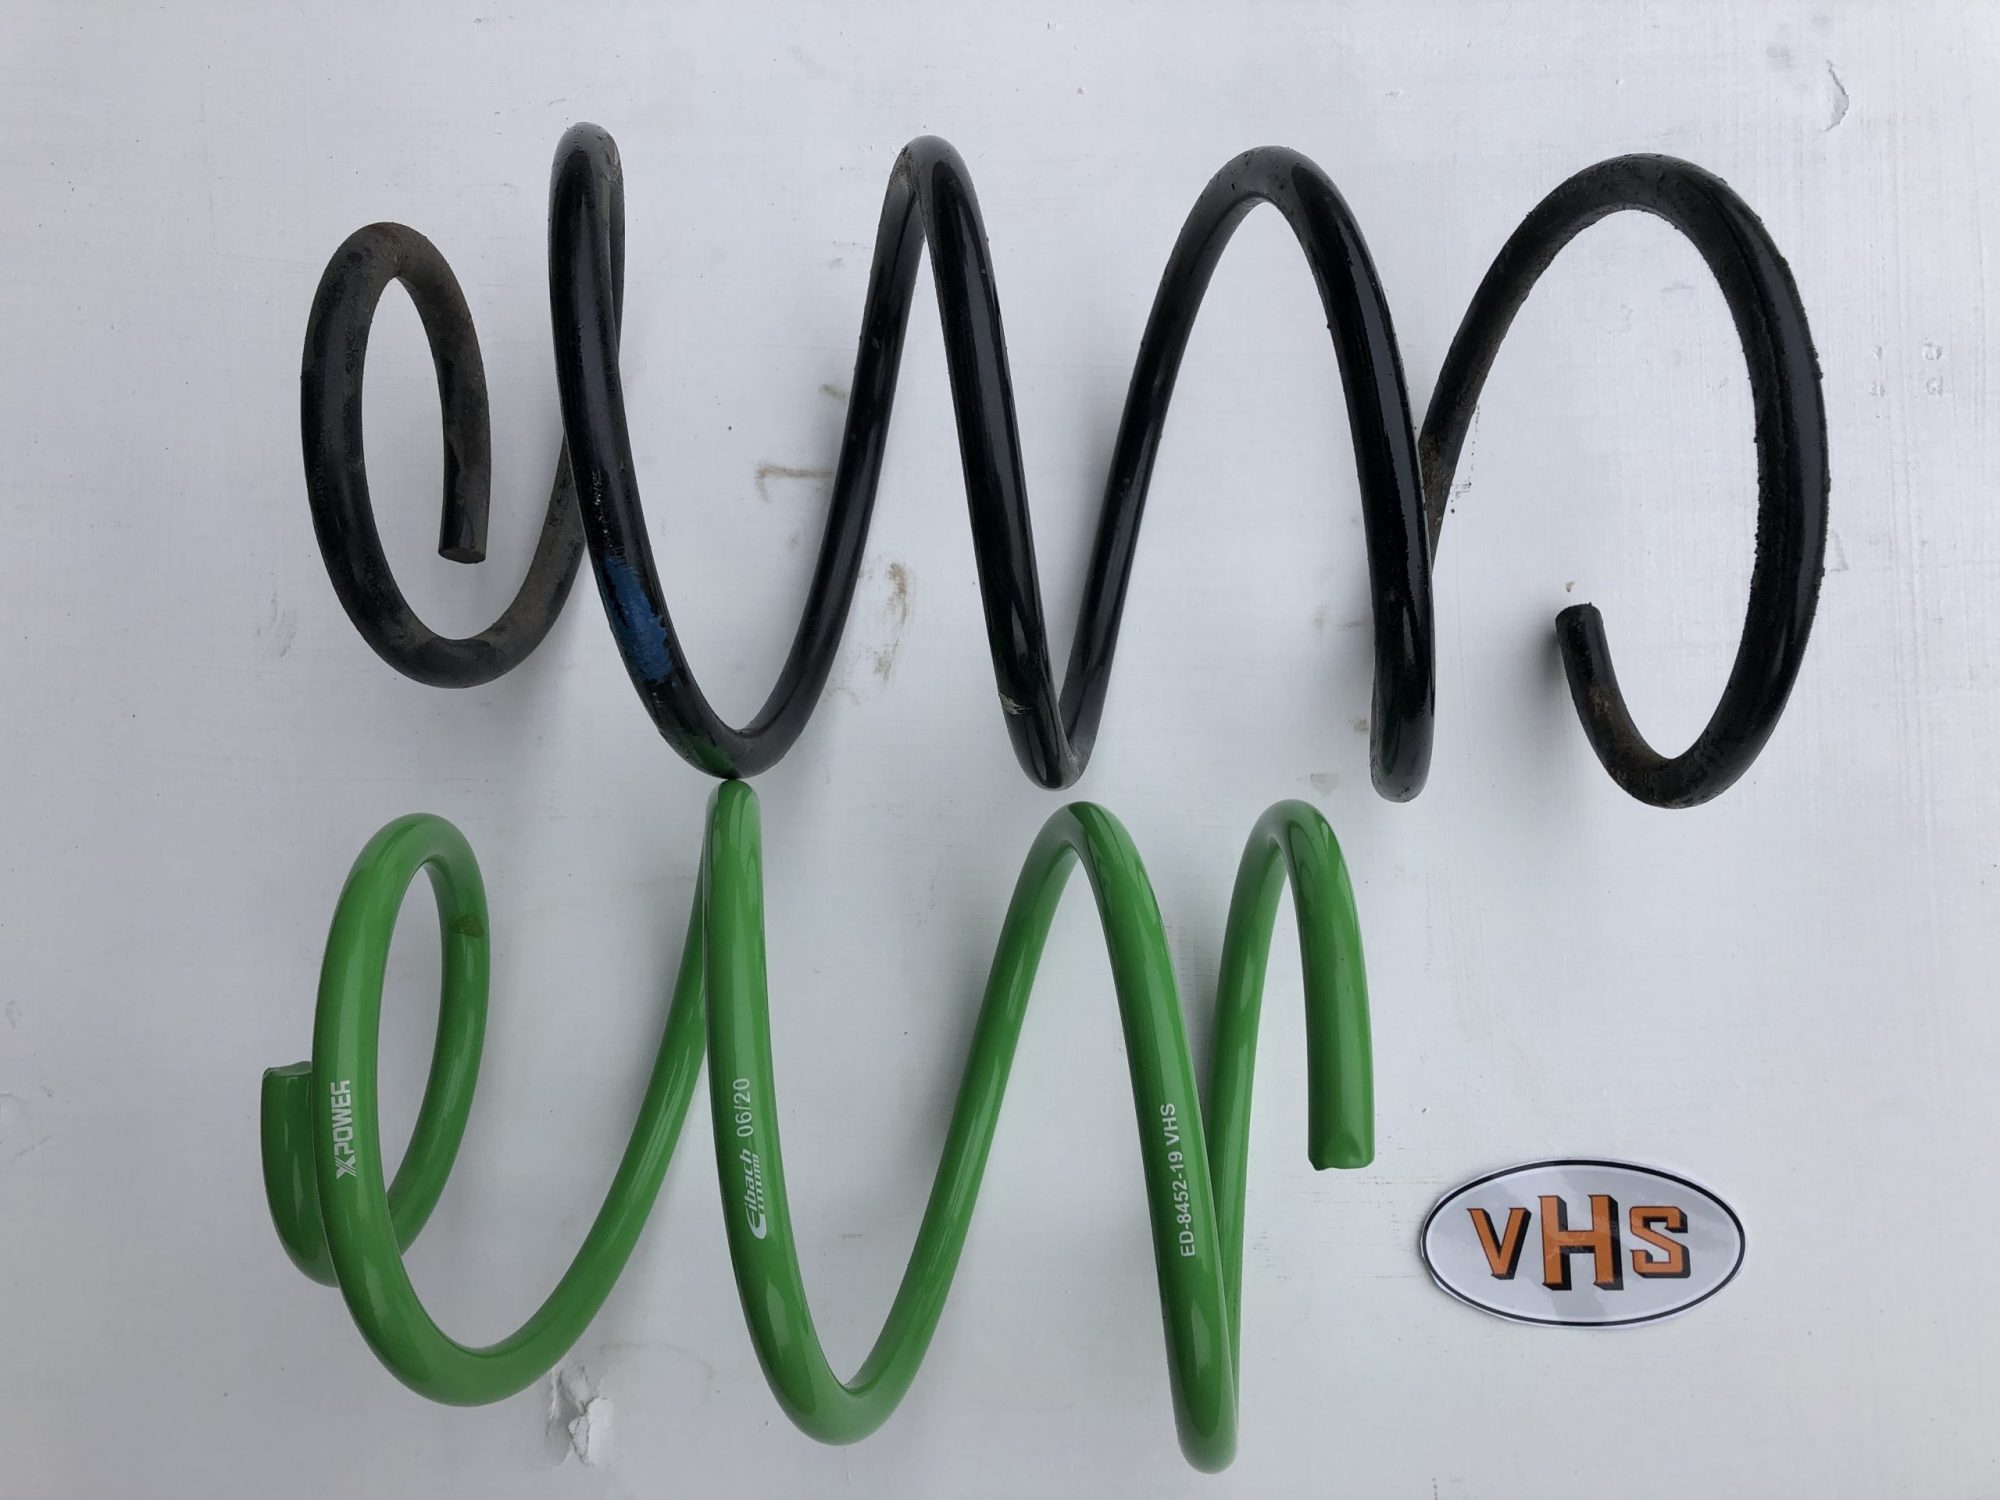
Several spring kits have been developed for Rover 75 over the years with varying degrees of success. I have spoken before about the need to consider ground clearance and progression towards the limits of suspension travel, when lowering a car (‘How low can you go’ May 2020). The fundamentally ‘soft’ suspension of the original Rover 75 (see the front spring picture) also increases the importance of checking integrity with stiffer springs. Do you notice a rattling noise over speed bumps? That is probably the aftermarket lowering springs coming loose as the suspension extends….
Having specified and introduced a lowering spring kit for MG ZT (made by Eibach for us in XPower green), it seemed sensible to try a set on our Rover 75. Fitment was straightforward as they are a direct replacement for the original springs, but careful checks were made to ensure that sufficient end load was present in the springs at full suspension travel. There is. The rear suspension lateral link bush bolts were loosened during fitment, to prevent preload as the lower height was achieved. Note to self: gaining access to torque them back up after settling the car is a challenge when working at floor level.
The result? A drop in ride height of 35mm at the front and 40mm at the rear. Wing to tyre gap is clearly reduced and the increased rear camber adds a more purposeful look from the rear. Whilst I would always advocate a geometry check, the linear bump steer and good tolerances meant that no toe change was required front or rear.
But does it still feel beautiful? The biggest change is the reduction in roll angle. The driver can hustle the car through ‘S’ bends with quicker steering inputs and it settles quickly after progressively absorbing dips in the road. The standard dampers were obviously well tuned, because they still exhibit good control even when fully laden (I know, because I tried it).
So, the result is spot on and just what the car should have been when launched? Er, no. The silkiness of the ride quality has taken a hit. More vertical disturbance is noticed due to the increase in wheel rates and it can expose too much travel into rebound. But I have to say that the car is still comfortable, composed and the steer response/roll reduction benefits feel modern.
The car is often used in a volunteer role for transporting older passengers to hospital (particularly at this time) and has always attracted favourable comments from the rear seat. What about the effect of my spring kit? I needn’t have worried: ‘’Your car is very comfy’’ has continued.
What a difference a rate makes. I can tell you about it, but beauty is in the eye of the beholder. You will have to decide. (Kits available from us or www.xpowerparts.co.uk )